2018 Calendar
My last class to wrap up 2017 is this beautiful 2018 Calendar. We made it in my classes this month and now I want to share it with those of you online who have been so patiently waiting to see the new calendar. In order to do this calendar on your own you would have to purchase at least 12 different stamp sets and dies. Some of the sets have already retired and you can no longer get them, so I decided I am going to be doing the calendar for 2019 a little differently. Those who are unable to attend my classes can play along all year and have a completed calendar at the beginning of 2019. Watch for a 2019 Calendar post as we get closer to January 2018.
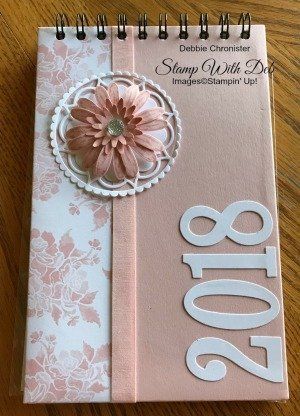
The Powder Pink cardstock was cut to 10 x 7.
Attach the 3 x 10 designer series paper to the left side.
Glue a piece of 5 1/2 x 8 5/8 chipboard (that comes in the back of the foil papers) in the center of the Powder Pink.
Fold the sides around and trim the corners diagonally.
Fold the sides down and adhere them to the back.
Wrap a piece of ribbon down were the two papers meet.
Attach a piece of 5 3/8 x 8 1/2 Whisper White cardstock to the back of the cover.
Cut a doily from Eastern Medallions in Whisper White.
Cut the numbers from Large Numbers dies in Whisper White.
The flower is made with the Daisy Delight, stamped in Powder Pink on Powder Pink and punched with the Daisy Punch
Use the Blossom Bunch Punch or the Boho Blossom which are both retired.
To finish off put a Faceted Gem or a Metal Rimmed ears in the center of the flower.
Have fun stamping!
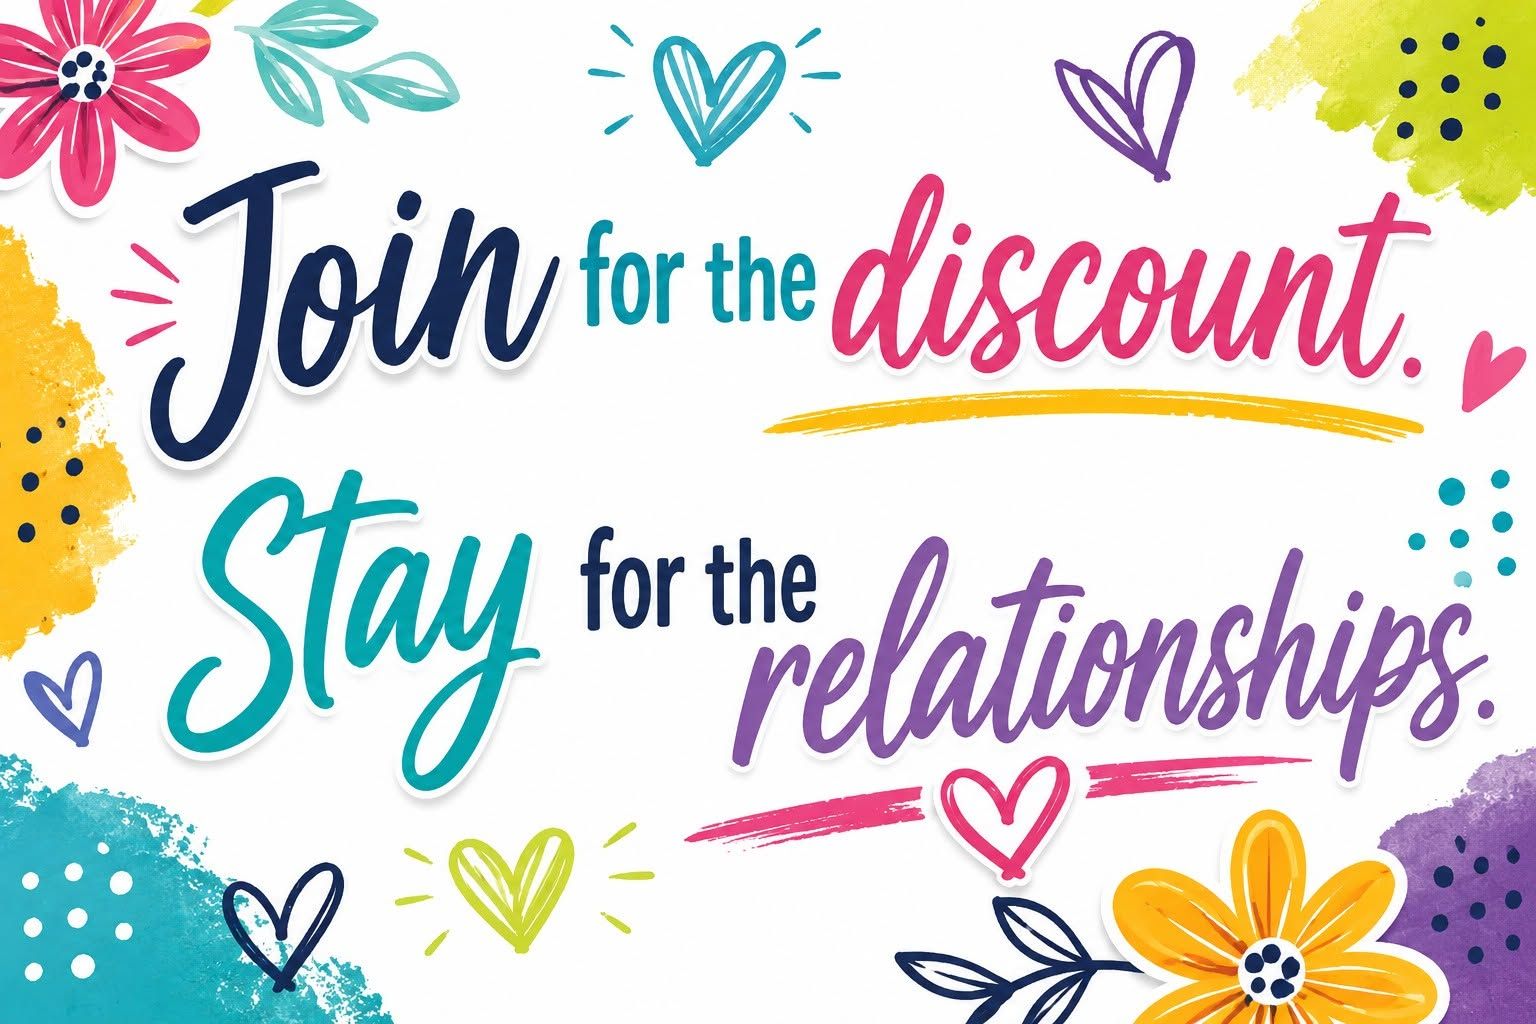
Are you about to hit that $99 mark on your order (before shipping and tax)? If so, why not consider joining my team? As a member, you’ll enjoy $125 worth of products of your choice for only $99! Plus, you’ll snag a fantastic 20% discount on all your future purchases and a variety of exclusive perks from me and Stampin' Up! Dive into this exciting journey of paper crafting with us! For more information, check out my Join My Team page
We now have 3 catalogs each year, January - April, May - August, September - December. We no longer have an annual catalog. You will find all of the products in the catalogs online as well as Last Chance and Online Exclusive Products. If you want to check out the May - August Catalog click on that catalog below. If you want a paper copy, please contact me to get yours!
Check out:
Online Exclusives
May - August Catalog - Contact me to get yours!
Subscribe to my My YouTube paper crafting video channel
Follow me on Pinterest
Follow me on Facebook every week for Stampin' Tell Tuesday
Shop my Online Store